Tuesday, October 21, 2014
Hello, Memory Bound Friends!
Today's trick is how to use wax paper to get amazing cuts with your die cuts, especially the thin die cuts that are so popular at this time!
Tim Holtz new Christmas thinlits are wonderful, but unfortunately some of us ran in to some bumps while using the thinklit Christmas words. They would cut, but not very well.

So, Diana stepped in and shared with us how to use wax paper to get those perfect cuts when using thin dies with your big shot.
You will first set up your "sandwich" as usual, meaning platform, clear plate and your die cut, face up. Place a piece of wax paper on top of the die.
Place the paper you want to cut on top of the wax paper. Add your second plate and run through your Big Shot.
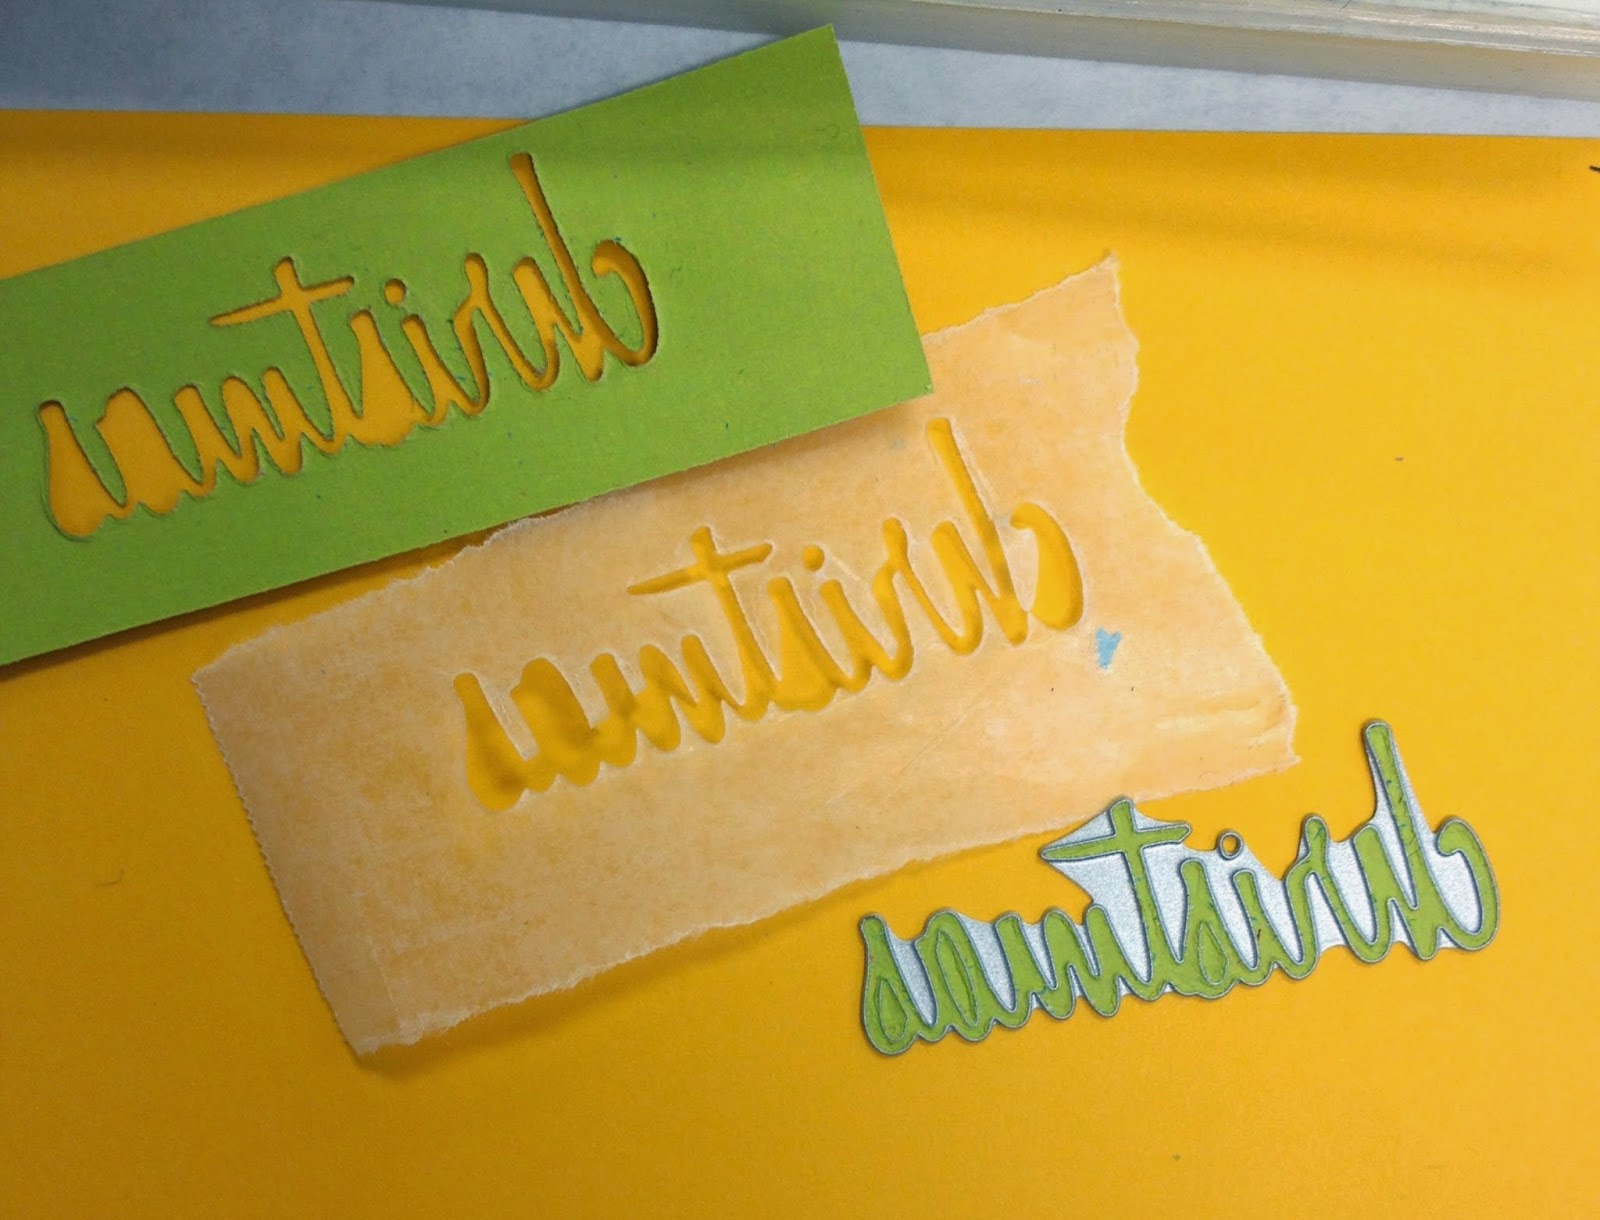
After cutting, you will have your paper, wax paper and your die. The paper and wax paper will most likely stuck in you die cut. No problem!
There are holes in the back of the die that you can use paper piercer to remove the paper.
Spellbinders Tool 'n One, which I am using in the above picture. At one end, there is a paper piercer and the other end a brush.

The brush is perfect for dies that have lots of little cuts, like the snowflake below. Run the brush on the back of the die cut and it will pop out all those little cuts!! LOVE IT!!
Back to our wax paper.
Once you pop out the word from the die cut, you will have a wax paper coating over your paper.
Peel off the wax paper and there you go! A perfect die cut!
Diana suggests using this technique several times when using a new die cut.
Another suggestion would be to ball up a piece of wax paper, rub it over your die and then cut as usual, without using the extra piece of wax paper in your sandwich. If that trick doesn't work, the there is always the above directions to implement!
Thanks, Diana, for this great trick! You have made many paper crafters extremely happy!!
What will you create today?
Katie
Subscribe to:
Post Comments (Atom)


No comments:
Post a Comment
Thanks for stopping by our blog!