Sunday, November 27, 2011
Now that Thanksgiving is over and the winter holidays are fast approaching, reality begins to set in for high school seniors and their parents. The senior year is a busy and emotional time for everyone. And if you're a scrapbooker, a quick check of the calendar will confirm that -- in addition to attending all of your senior's activities -- you have only a few short months to finish those scrapbooks for graduation!
This post is Part 2 of my advice for Senior Moms as they prepare for the big graduation open house. (Read Part 1 here.)
5. Simplify. Find a layout design you like? Repeat it. No one will be the wiser. Limiting your design choices will speed up the scrapbooking process.

Here's a simple layout I've used a few times. Works great for single photos. Trust me: No one notices when you repeat a layout!

Here it is again in a completely different theme.

Here's another quick and easy layout I've used several times.

Here it is again with a completely different set of photos.
You may also find it helpful to create “highlights” layouts. If your student is involved in sports, rather than scrapbook every single game, choose some photos to represent the entire season and create a two- or four-page spread to document the highlights. After graduation (when things settle down!) plan to go back and create additional layouts to supplement your “highlights” pages.
Use three-ring binders to store your completed layouts. Binders accommodate divided page protectors so you can incorporate photos you don’t have time to scrapbook right now. Plus, they’ll be sturdy and easy for guests to handle at your party.

6. Plan ahead. Working from your list of Must-Do Layouts, organize supplies for several pages at once. Take your photos to Memory Bound and purchase materials to match, then drop everything into a protective sleeve for safekeeping. As you do this, identify a few basic cardstock colors that you’re using frequently (such as your school colors) and purchase them (along with adhesive!) in volume.

7. Keep up with photo printing. Some Senior Moms fall behind in their photo printing. Don’t let this happen to you! It happened to me and unfortunately, I lost valuable scrapbooking time editing and printing photos. My advice is to keep up with the process. Choose a reputable online developer, then upload and order prints regularly. If you have a backlog of photos to print, purchase a pre-paid plan to reduce the cost per print.
8. Use your resources: Delegate, outsource, or purchase. If your goal is completed scrapbooks, then let go of some other graduation tasks. You can’t do it all! Rather than spending hours in the kitchen, purchase food for your party. Need display boards with your senior’s photos? This is a great task to assign to your graduating student or another crafty family member.
Let Memory Bound be at the top of your list of resources! In January and February, we're scheduling Senior Crop Nights -- dedicated evenings just for you, and we'll be there to help you with ideas to simplify the tasks on your list. And watch for our Graduation Open House in the spring, where we'll have all kinds of grad party ideas on display.
Let Memory Bound be at the top of your list of resources! In January and February, we're scheduling Senior Crop Nights -- dedicated evenings just for you, and we'll be there to help you with ideas to simplify the tasks on your list. And watch for our Graduation Open House in the spring, where we'll have all kinds of grad party ideas on display.
9. Use your computer. Microsoft Word can be a Senior Mom’s best friend! Using Word for journaling and titles will save you valuable time. I have a few layout designs that I use regularly, so I save the journaling text boxes to use as templates. You can even format and print text boxes for several layouts at once.
10. Don’t let scrapbooking add to your stress! Senior Moms can feel a great deal of pressure to complete albums in time for graduation. RELAX! No one but you will know if you haven’t scrapbooked every single event in your child’s life. Let scrapbooking be your refuge and escape during this busy time! In the years to come, you'll treasure every single layout you've created.
If you have any questions, please let us know. We're eager to help you accomplish your graduation goals!
If you have any questions, please let us know. We're eager to help you accomplish your graduation goals!
Janet
Saturday, November 26, 2011
I just saw the most amazing project at Memory Bound: Diana's Ribbon Tree!

Diana used one of our paper mache cones as the base for her beautiful project. She cut strips or "ribbons" of double-sided patterned paper (she used Echo Park's new Winter Park line), folded them into loops, and hot-glued the loops to the base of the tree. She used longer strips around the bottom portion of the tree and shorter strips around the middle and top.

Diana used one of our paper mache cones as the base for her beautiful project. She cut strips or "ribbons" of double-sided patterned paper (she used Echo Park's new Winter Park line), folded them into loops, and hot-glued the loops to the base of the tree. She used longer strips around the bottom portion of the tree and shorter strips around the middle and top.

Here's a close-up of her project. She wrapped ribbon around the tree, then added buttons for color and Stickles for a bit of sparkle.
Be sure to look for Diana's beautiful project the next time you visit Memory Bound. We have everything you need to create your own amazing tree to match your home decor!
Thanks, Diana, for inspiring us all with your creativity!
Janet
Sunday, November 20, 2011
We're nearing the halfway point of the school year, the time when the reality of graduation begins looming large for seniors and their parents. Each year around this time, I run into a scrapbooker with sort of a crazed look in her eyes. This is the “Senior Mom” look! This woman wants to scrapbook all 18 years of her child’s life in the few short months before graduation.
This Senior Mom has been to graduation open houses over the years and knows what is expected of her. She feels enormous pressure to create a beautiful set of albums to display at her party, with every detail of every event in her child’s life perfectly documented. She also wants to create a handmade guestbook and invitations, decorations, and more. On top of that, she feels guilty that she didn’t start these projects years ago. Worse yet, she feels like she’ll be labeled a “bad mom” if she doesn’t get it all done!
This Senior Mom has been to graduation open houses over the years and knows what is expected of her. She feels enormous pressure to create a beautiful set of albums to display at her party, with every detail of every event in her child’s life perfectly documented. She also wants to create a handmade guestbook and invitations, decorations, and more. On top of that, she feels guilty that she didn’t start these projects years ago. Worse yet, she feels like she’ll be labeled a “bad mom” if she doesn’t get it all done!
Does this sound familiar?
Do not fear, Senior Mom! Many of us who work at Memory Bound have been Senior Moms (in fact, we're in the Senior Mom Club!) and we know the pressure you're feeling. We can help you with many tasks on your lengthy to-do list...except cleaning your house, of course! :) Meanwhile, here are some tips I've compiled to help you as you get started.
Do not fear, Senior Mom! Many of us who work at Memory Bound have been Senior Moms (in fact, we're in the Senior Mom Club!) and we know the pressure you're feeling. We can help you with many tasks on your lengthy to-do list...except cleaning your house, of course! :) Meanwhile, here are some tips I've compiled to help you as you get started.
1. Start early. This means start NOW. No matter what you think, it will take you longer than you expect to meet your scrapbooking goals. And life doesn’t stop while you’re scrapbooking. Starting early will give you a little bit more breathing room.
Maybe you feel like it’s already too late to start early, but don’t despair! You can still meet your scrapbooking goals, as long as you set realistic expectations. Read on...
Maybe you feel like it’s already too late to start early, but don’t despair! You can still meet your scrapbooking goals, as long as you set realistic expectations. Read on...

2. Make a Must-Do Layout List. Make a list of the events/activities/milestones that you absolutely must scrapbook before graduation. Focus your time on completing those layouts and set the other photos aside for later. (For me, this meant absolutely NO CAT LAYOUTS during my daughter's senior year!) As you complete pages, check them off your list. This will keep you on track and give you a sense of accomplishment.
I suggest adding one special project to your Must-Do list: A portrait album. Gather all of those 8x10 school photos, choose a consistent color/design scheme, and put them in an album (I used a WRMK 3-ring binder). If nothing else gets done, you will have a wonderful, concise album showing how your child has grown and changed over the years. I guarantee that this album will get the most attention of any you complete!

3. Scale back your expectations. If you’re a new scrapbooker, you’ll need to make few layouts before you’re comfortable with the tools and process. If you’re more experienced, you may be accustomed to spending quite a bit of time on each page. Either way, you probably need to let go of the dream of scrapbooking every event in time for graduation.
For instance, I didn't have time to scrapbook my daughter’s birth or infancy in time for the open house -- and that was okay! She created display boards with a few photos from those years and it worked out fine. Let go of the pressure to do EVERYTHING. You can't, and you shouldn't try -- or you won't have time to enjoy the senior year!


Keep in mind that as graduation approaches, we can help you with your display boards -- we can copy photos, help you use our die cutting machines, and assist you with creating your boards.
4. Ask for help from your student. Even a busy senior can help with scrapbooking. As I worked on graduation albums, I had my daughter write notes about events that I later used for journaling. I often created layouts and left the journaling for her to fill in when she had a spare minute. After all, the stories I’m capturing in the scrapbooks are hers. Her voice should be represented in the albums!
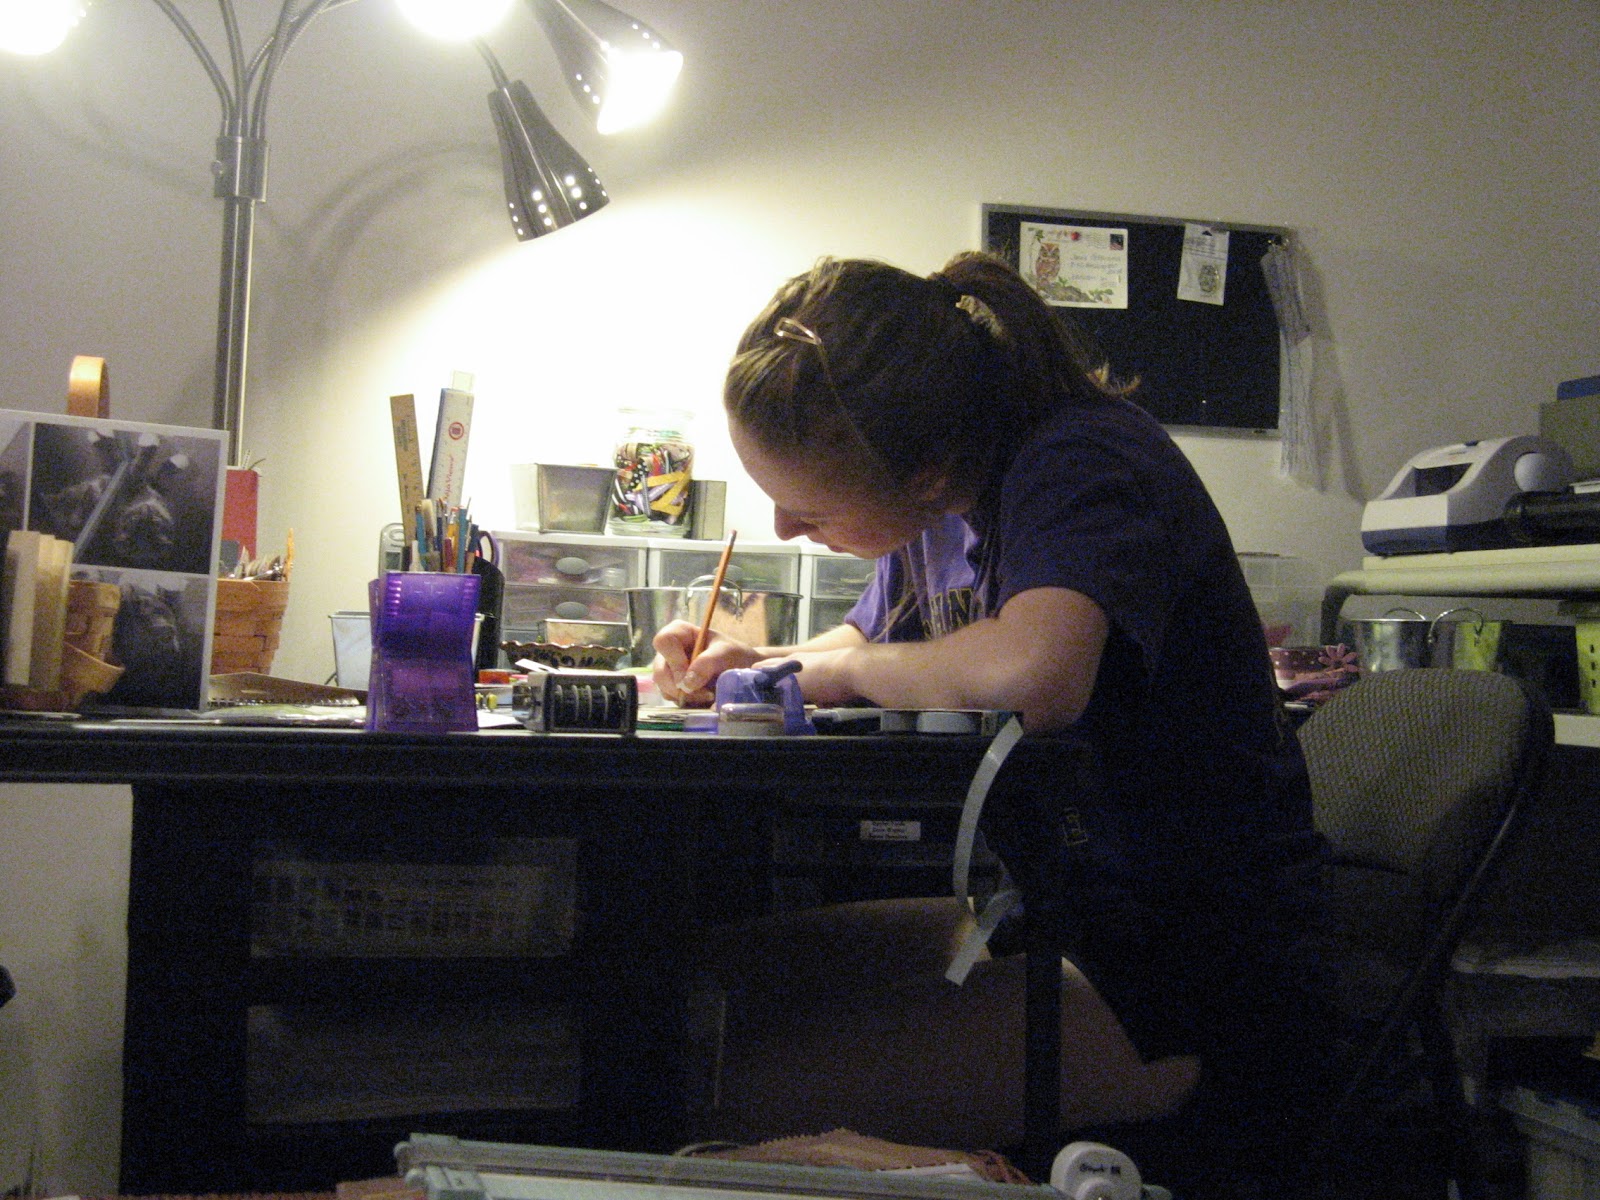
In recent weeks, I've been seeing several seniors working on their scrapbooks at Memory Bound. This is a great activity for kids to do in their spare time, and it will be enormously helpful when graduation rolls around! Our work room is almost always available for you to use for crafting, free of charge. Just give us a call to be sure we have space!
Senior Moms, I will leave you with these thoughts for now; look for additional suggestions in upcoming blog posts. Meanwhile, if you have any questions or tips to share, please post them! We at Memory Bound are happy to help you so that you'll be able to enjoy every minute of this very special year in your student's life!
Janet
Friday, November 18, 2011
It's no secret that we have some of the most creative staff members anywhere working at Memory Bound! Many of them have created December Journals to document special holiday happenings (if you missed the blog post, you can see photos of their beautiful projects here).
Katie took a different approach this year, choosing to use a 7Gypsies library tray and "divider" cards. I'm a "library girl" at heart, so anything made with a library tray appeals to me! I love how her project came together!
Katie took a different approach this year, choosing to use a 7Gypsies library tray and "divider" cards. I'm a "library girl" at heart, so anything made with a library tray appeals to me! I love how her project came together!

Katie was initially inspired by a project she saw in the Somerset Holidays and Celebrations magazine. It appealed to her desire to keep things simple and doable during the busy holiday season. All she needed was a 7Gypsies tray, paper, and embellishments.


When the Simple Stories line arrived at Memory Bound, Katie saw that it would be perfect for her project. She cut the double-sided 12x12 sheets into 4x6 squares to make 24 different cards that fit perfectly into the library tray. But Katie says the best part about this collection is the sheet of number stickers, which gave her many options for each day. She bought two sheets so she could use the same number on the front and back of each card.

Katie's plan is to take photos throughout the month of December and simply place them behind the divider cards. There is plenty of room for writing down special memories, too. She also included kraft envelopes for memorabilia she plans to keep.

Thursday, November 3, 2011

Our November Holiday Card Make-N-Takes are underway! Stop by on Mondays and Wednesdays in November from 1 to 6pm to make a beautiful holiday card using a variety of new products and techniques.
Several of our talented staff members have designed this month's projects -- so you'll see a wonderful variety of styles on the cards. Come to all of our make-n-takes and you'll have a collection of unique cards to give to the extra-special people in your life! Materials fee $2.
Several of our talented staff members have designed this month's projects -- so you'll see a wonderful variety of styles on the cards. Come to all of our make-n-takes and you'll have a collection of unique cards to give to the extra-special people in your life! Materials fee $2.
Janet


Subscribe to:
Posts (Atom)


