Friday, February 28, 2014
Hello, Mixed Media Memory Bound Fans!
Wendy Vecchi's embossing paste is in the house and boy it is amazing!! If you enjoy mixed media and/or Tim Holt products, then this is the perfect addition to your supplies. I have a feeling it will definitely become a "must have" on many mixed media artist lists!
The embossing paste comes in gold, silver, white and black.
A plus with this product, is that you can use the paste with EVERY SINGLE TIM HOLTZ PRODUCT...his distress inks, his alcohol inks, his sprays...everything! The embossing paste can be used dry, wet, on stencils or you can create your own color of embossing paste!
Wendy, herself, explains all these options and more in the following video. As she demonstrates, using this product is pretty easy! What I find most amazing is that she is able to wear a white shirt while demoing all these products!!
So, what do you think? Can you see some embossing paste in your future? I'm not even a mixed media girl, but I may just have to give this paste a try!
Katie
Thursday, February 27, 2014
Hello, Memory Bound Tim Holtz Fans!
I have to admit, how does this guy think of all these new, fun and exciting products? His mind must never stop creating!! Which is a bonus for us and our creativity!!
Today's new Tim Holtz product that I am going to share with you is the Distress Marker Spritzer!
When I first played around with the spritzer, I assumed that I cold only use Distress Markers and unfortunately I do not have many of those. But them I learned the best part about this spritzer, is that you can use ANY MARKER!!! And when I say ANY MARKER, that means Copic Markers, Paint Markers and even Sharpie Markers!!
This tool is super easy to use! Here's is a great view of how to load your marker and how to hold the Spritzer for optimal spritz!!
This card was created using a stencil, Distress Markers and the Spritzer! OH...and Tim Holtz's new hashtag stamps (going to get some of those ASAP!)
How fun and colorful!!!
To further introduce you to the Tim Holtz Distress Spritzer, the man himself (on you-tube)...Mr. Tim Holtz! (YEA!!)
Don't the ideas just start flowing!! I can see using a couple blue Copic markers, a cloud stencil and create a great sky background for a card!!
What are you thinking???
Have a Spritzer kind of day!
Katie
Tuesday, February 25, 2014
Posted by
Janet
on
Tuesday, February 25, 2014
Categories:
Staff Projects,
Tips and Tricks
1 comments
Hello, Memory Bound friends!
Need a fun little project to cure the winter blahs? Look no further than these adorable bows Diana made using her We R Memory Keepers Envelope Punch Board! This wonderful tool enables you to make envelopes in all sizes, but who knew you could use it to make cute bows for your paper crafting projects? This is a great way to get even more from this fabulous tool AND use up your paper scraps!
Instructions for Bows Using the
We R Memory Keepers Envelope Punch Board
For each size of bow, center the ends of the paper strip under the notch punch and punch. Then cut notches along edges as stated below. Curl center "bow" parts toward back center and fold bow "tails" out flat under bow. Apply adhesive to center underneath. Bring bow to center and adhere. Embellish as desired.
Large Bow:
Cut a 1.5x10" strip of paper (double-sided looks best). On long edge, notch at 2.5" and 5". Then flip the paper and notch at 2.5." Repeat on the other long edge.
Medium Bow:
Cut a 1x10" strip of paper. Notch at 2" and 5". Flip and notch at 2". Repeat on the other long edge.
Small Bow:
Cut a 1x7" strip of paper. Notch at 1.5" and 3.5". Flip and notch at 1.5". Repeat on the other long edge.
Thanks, Diana, for sharing this great idea and so many beautiful samples! Stop in to see Diana's bows and pick up an Envelope Punch Board ($19.99) if you don't already have one. Then you'll be all set for some fun paper crafting during the next snowstorm... expected this weekend! :)
Happy bow making, crafty friends!
Janet
Posted by
Janet
on
Tuesday, February 25, 2014
Categories:
Staff Projects,
Tips and Tricks
0
comments
Hello, Memory Bound friends!
Need a fun little project to cure the winter blahs? Look no further than these adorable bows Diana made using her We R Memory Keepers Envelope Punch Board! This wonderful tool enables you to make envelopes in all sizes, but who knew you could use it to make cute bows for your paper crafting projects? This is a great way to get even more from this fabulous tool AND use up your paper scraps!
Instructions for Bows Using the
We R Memory Keepers Envelope Punch Board
For each size of bow, center the ends of the paper strip under the notch punch and punch. Then cut notches along edges as stated below. Curl center "bow" parts toward back center and fold bow "tails" out flat under bow. Apply adhesive to center underneath. Bring bow to center and adhere. Embellish as desired.
Large Bow:
Cut a 1.5x10" strip of paper (double-sided looks best). On long edge, notch at 2.5" and 5". Then flip the paper and notch at 2.5." Repeat on the other long edge.
Medium Bow:
Cut a 1x10" strip of paper. Notch at 2" and 5". Flip and notch at 2". Repeat on the other long edge.
Small Bow:
Cut a 1x7" strip of paper. Notch at 1.5" and 3.5". Flip and notch at 1.5". Repeat on the other long edge.
Thanks, Diana, for sharing this great idea and so many beautiful samples! Stop in to see Diana's bows and pick up an Envelope Punch Board. Then you'll be all set for some fun paper crafting during the next snowstorm... expected this weekend! :)
Happy bow making, crafty friends!
Janet
Monday, February 24, 2014
Hello, Memory Bound friends!
Have you heard about Copic Markers? These markers are
preferred by artists the world over because they're made with an alcohol-based
ink which gives vibrant colors and allows smooth blending. Paper crafters use
Copic Markers to color stamped images which can be used on cards, scrapbook
pages, tags, gift bags, and so much more. You’ll love how easy they are to use
and how professional your projects will look!
Katie makes learning about Copic Markers easy and great fun! I hope you'll join her at our next Copic Marker Basics class. Check out the details below, then give us a call at (515) 965-1102 to register!
Janet
***************************
Katie makes learning about Copic Markers easy and great fun! I hope you'll join her at our next Copic Marker Basics class. Check out the details below, then give us a call at (515) 965-1102 to register!
Janet
***************************
COPIC MARKER BASICS
Sunday, March 9, 2:30-4:30pm
Sunday, March 9, 2:30-4:30pm
Monday, April 7, 6-8pm
Copic Certified Instructor: Katie Belding
Fee: $16 / Skill Level: Any
Bring Basic Class Kit
See what all the excitement is about with the Copic Sketch alcohol markers! These artist markers are designed for coloring & blending. Our certified instructor will teach you Copic basics about shading, blending, using the color wheel, and you'll make 2 cards. Markers provided.
Sunday, February 23, 2014
Hello, Memory Bound friends!
Maggie has an amazing class coming up which you won't want to miss! You'll learn fun mixed media techniques as you create a beautiful embossed frame to display in your home or give as a gift. Call us at (515) 965-1102 to register!
Janet
FOIL EMBOSSED FRAME
Sunday, March 9, 12:30-2pm
Thursday, April 17, 1-2:30pm
Instructor: Maggie Benge
Fee: $19 / Bring Basic Class Kit, black paint dabber, sanding block, & 1/2" Scor-Tape.
Create a beautiful frame for your favorite photo using embossing folders and Spellbinders foil sheets. Learn how to emboss and distress foil and paint to create this Mixed Media frame to add to your home decor. These techniques can be used on all sorts of frames and some you probably already have that need updated. You’ll leave with enough materials to make several more frames.
Hello, Memory Bound friends!
We've had a great time each Wednesday afternoon in February with our KRAFT Days Wednesday
Workshop Make-N-Takes! All of this month's projects feature kraft paper
or cardstock -- an incredibly versatile starting point for just about any project. Don't miss our final project for this month coming up on Wednesday, February 26!
If you've never been to one of our Wednesday Workshop Make-N-Takes, we'd love to have you join us! No registration needed: Drop by between 1 and 6pm, purchase a ticket at the counter (just $2 to 4), and take a seat at our table! You'll have a great time and learn new techniques as you make a fun project to take home with you.
Our next project is a colorful kraft gift bag featuring stenciled images and other fun techniques. Stop in on Wednesday, February 26 between 1 and 6pm to learn new techniques and make this adorable bag. We hope to see you then!
Janet
Friday, February 21, 2014
Hello, card making friends!
On Wednesday, we received our long-awaited, much anticipated shipment from Graphic 45! We received so much beautiful product that it
boggled my mind! I have many months of card classes planned with these incredible papers. Can't wait!
In fact, the first class is Masculine/Teen Cards, set for
Tuesday, March 4 and Tuesday, March 11! As soon as Diane got all the product checked in for me, I got to work on this card set which features the brand new Good Ol’ Sport
line. Wait until you see the vintage sports images, colors, and patterns of this paper...so rich and beautiful in classic Graphic 45 style! Check out the details below, then give us a call at (515) 965-1102 to register or order a kit.
Hope to see you in class!
Hope to see you in class!
Janet
********************
Graphic 45 - Masculine/Teen Cards
Tuesday, March 4, 6-8pm
Tuesday, March 11, 1:30-3:30pm
Instructor: Janet Petersma
Fee: $19 / Skill Level: Any
Bring Basic Class Kit, Distress Ink (your favorite
brown), blending tool, splat mat, scoring blade, pop dots, Glue Dots, 1/8”
Tacky Tape or Scor-Tape.
Combine the unmistakable look of Graphic 45 with vintage sports images from the new Good Ol’ Sport line to create a set of beautifully detailed cards for the men and teens in your life! Create 5 vintage cards in class & leave with everything to make one more.
Combine the unmistakable look of Graphic 45 with vintage sports images from the new Good Ol’ Sport line to create a set of beautifully detailed cards for the men and teens in your life! Create 5 vintage cards in class & leave with everything to make one more.
Thursday, February 20, 2014
Hello, Memory Bound Flip Friends!
Today I want to introduce you to Teresa Collins Basically Essential Flip Books. When I first saw this book, I didn't think much about it. Then Kellie shared a video with me and I am SO excited to get my hands on one of these!!
The books come in two different sizes and are extremely affordable! The smaller book measures 4 x5.5 and costs 3.99. The larger book is 5.9x5.5 and costs 4.99. The great part of these book is that when you pull the tab, shown on the right, the book actually flips from page to page! AMAZING!!
He is a photo of the book to show the different sizes of the pages. But, to get a true feeling of the book, you must check out these videos!
Another video showing these fun flip book can be watched here! (I would have just loaded it, but I am not that techie to load two videos on one post!!)
Now that you have seen the videos, don't the ideas just start flowing...what a great graduation book this could be...showing the graduate from younger days, elementary, middle school and then high school! How about a bunch of fun photos from a trip to flip through! As I have said before, the possibilities and ideas are endless!!
Tuesday, February 18, 2014
Hello, to All of Our Mini Albums Lovers!
I just LOVE many mini things! (pun intended!)
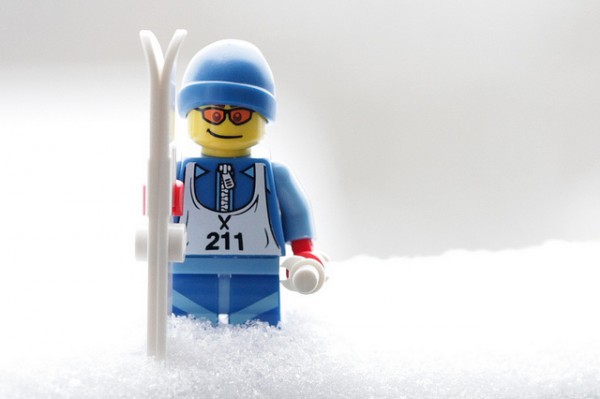
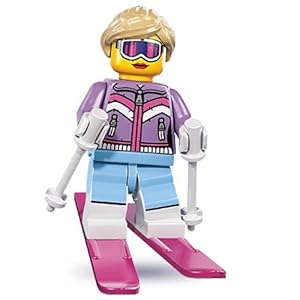
I get a chuckle out of Lego mini figures!
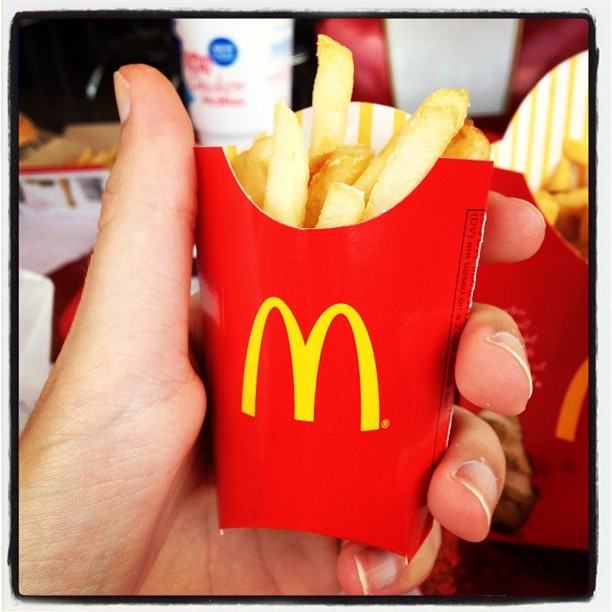
My son got a McDonald's Kid's Meal the other night. The meals now have mini fries which come in a mini fry holder!
It was SO cute!!
So you can imagine my joy when WeR released Mini Albums! They are exactly like the 12x12 three ring leather binders, but in a 4x4 size! Insanely adorable!!
I did show some restraint. I did not immediately purchase one, because I had NO IDEA what I would use it for. Well, my restraint lasted to the end of my shift or approximately three hours. By that time I had purchased the mini 4x4 gray album! YES!!
The refill pages are just as adorable as the mini albums! Why the little instagram camera on the package? Because instagram pictures print off in 4x4! Wouldn't this be a great graduation album or friendship album full of fun instagram photos!!
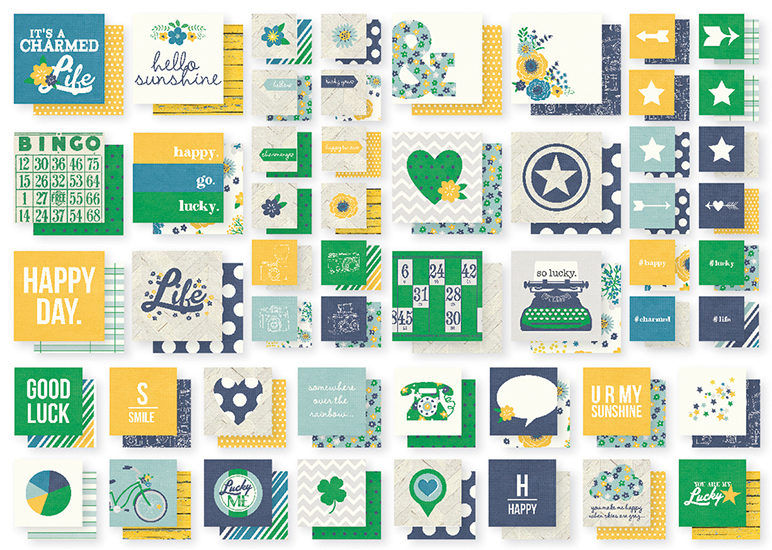
Companies, such as Simple Stories and Bella Blvd, have released "insta-squares" and "candid cards" packs that contain 2x2 and 4x4 decorative squares that will work wonderfully in this mini album!
Hope you see something that inspires you to create today!
As always, if you see something that you like and want us to put to the side for you, call the store at 515-965-1102. Remember, for a small cost, we are willing to ship items to your home!
Have a happy mini day!
Katie
Monday, February 17, 2014
Hello, Memory Bound Friends!
I would like to share with you another collection from Simple Stories, Homespun. As one person described the collection, "It is wonderful collection with it's woodgrain backgrounds and rich colors and dainty yet still masculine patterns and embellishments." I couldn't have said it better myself!
One package of "insta squares" contains all of these fabulous pieces!
Just one for the loaded 12x12 sticker sheets!

Check out these cards and layouts that were created with the Homespun collection!
Another part of this collection are fabulous pieces and papers that can be created into a recipe book! Pat will be using this collection in her Homespun Recipe Binder class on April 28. Click HERE to see the class description, then call us to register!


If you would like to see more of this wonderful collection, click here!
Sunday, February 16, 2014
Hello, Memory Bound friends!
Join
us each Wednesday afternoon in February for our KRAFT Days Wednesday
Workshop Make-N-Takes! All of this month's projects feature KRAFT paper
or cardstock -- an incredibly versatile starting point for just about any
paper crafting project.
If you've never been to one of our Wednesday Workshop Make-N-Takes, we'd love to have you join us! No registration needed: Just drop by anytime between 1 and 6pm, purchase a ticket at the counter (just $2 to 4), and take a seat at our table. You'll have a great time and learn new techniques as you make a fun project to take home with you!
Our next project is a colorful kraft album designed by Kellie, perfect for sharing your favorite photos. Stop in on Wednesday, February 19 between 1 and 6pm to learn new techniques and make this adorable project. We hope to see you then!
Janet
Saturday, February 15, 2014
MIXED MEDIA SHOWCASE
Tuesday, February 18
5:30-7:30pm
Dawn created this canvas by embossing the metal tape from Ranger to form the frame and heat-embossing the letters.
Tuesday, February 18
5:30-7:30pm
It's
an open house of artistic creations! Stop in to see what Mixed Media is all
about as our creative group shares their projects. We're having
refreshments and people on hand to explain all the how-tos!
Dawn created this canvas by embossing the metal tape from Ranger to form the frame and heat-embossing the letters.
Hello, Memory Bound friends!
I remember the year I received a new SLR camera from my parents for Christmas. I was so afraid I'd break it that I couldn't take it out of the box. (Crazy, I know...) It wasn't until I finally took a class that I felt comfortable using it. Then I wondered why I had waited so long to learn!
Maybe you feel this way about your Cricut Expression 2. Maybe you've had your machine for awhile but you've been a little scared to try it. Maybe you've played with it but don't know how to get the most from this wonderful crafting tool.
If this is YOU, then don't delay any longer: Sign up for Diana's Cricut Expression 2 classes coming up on Saturday, March 1! You'll take your machine to class and Diana will teach you how to use all the features. You'll soon be crafting like a pro! Give us a call at (515) 965-1102 to register today!
Janet
Cricut Expression 2 BASICS
Saturday, March 1, 9:30am-12pm
Instructor:
Diana Tuttle
Fee: $18 / Skill
Level: Any
Bring Basic
Class Kit, Cricut Expression 2, mat, and owner’s manual. Optional: One external
cartridge.
Bring your Expression 2 to class to learn hands-on all the functions
of this creative machine! We’ll cover everything to operate it, from start-up
to project – including care of your machine, cartridge review, icon use, and
setting up your papers and projects. Diana will help you get the most from this
great crafting tool!
Cricut Expression 2 ADVANCED
Saturday, March 1, 1-3:30pm
Instructor:
Diana Tuttle / Fee: $18
Skill Level: Must have taken Cricut
Expression 2 Basics
Bring Basic Class Kit, Cricut Expression 2, mat, glue pen
(or Xyron X), and owner’s manual. Optional: One external cartridge and spatula.
It’s an extension of the Basics class as we make actual die cuts &
projects. You’ll use all the features and build confidence in combining the use
of the icons (buttons) to create your projects.
Subscribe to:
Comments (Atom)


